Programming a retro game in functional-style ES6
Intro
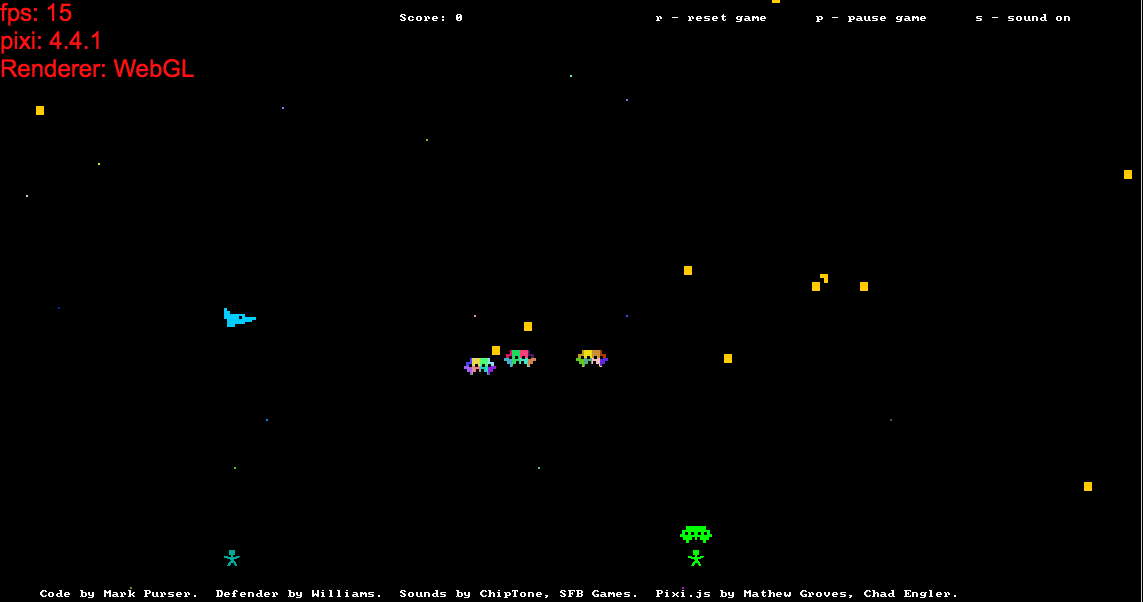
ES6 adds some nice features such as the arrow function syntax =>. Combined with the map, filter and reduce functions (introduced in ES5 Array.prototype) makes for some expressive coding opportunities in Javascript. In this practical programming challenge, I've begun to create a clone of Classic Defender (© Williams Electronics).
Structuring the Code
I stumbled across this article early on by James Hague's blog which contains some great practical tips on structuring functional code for games.
There are also a few anti-patterns that I want to avoid. Some Clojure game code I've seen simply pass around huge structures of state and use update-in to mutate parts of the structure. Intuitively this doesn't seem a good way to utilise a functional language.
With this in mind, I have stuck to a few simple rules of thumb:
- The code must be concise but still be readable and extensible
- Every function does a single, simple task. Strictly pass in only the parameters that are required for the function to perform it's task
- Define custom data types using classes. Allow inheritance, but no class methods or polymorphism
- Avoid large structures but prefer parallel arrays or association using maps
- Functions with side-effects should be isolated and labelled
- Easily unit-testable
Retro Vision
To make the game really retro the graphics are drawn in an emulated ascii mode on an HTML5 canvas. Instead of moving sprites around, the retrovision.js code uses fixed sprites to make a grid of characters.
All coordinate systems are based on characters not pixels.
retrovision.js is built on top of PIXI.js so is nice and fast
Tutorial 01 - Player and Controls
The code for the first part of this tutorial can be found in es6-defender-tut01.js
Data Types
The first thing that needs doing it to clearly define our data types. It's important to create structures that model exactly what our game elements will need.
ES6 has the new class syntax which we will use to define our custom data type. To model the state of the player we need some sort of state machine. We also need to track position and velocity.
As is normal in game programming, there are several game objects that we need to represent and inheritance is a good way of sharing characteristics between classes. In this case we use a base class containing position and velocity data members. The base class is called StateVector. I also add an id member, a unique identifier, which isn't strictly part of a state vector but it's convenient to store it here.
The Player super class contains the state of the player state machine. It also includes t_startState which is the time that the last state change occurred.
For the player movement we need some constants that we can tweak. We have playerMaxSpeed X and Y; the units are chars/second. Damping is also measured in chars/second and Acceleration is in chars/second2.
Next we create the graphical aspects of the Player with static data members. The sideLen is the width/length of the game object used for collisions. The graphic variable is the string of ascii codes that index into the tile map terminal.png.

There are two graphics for the Player representing left and right directions. The colour is a simple RGB value.
Having defined our player attributes, we can start updating and drawing to the screen!
Update Player
As mentioned in the intro, the aim is to decompose functions into small units that perform single tasks. One way of doing this is to separate the update of state and the update of position. This way we limit the number of arguments (dependencies) on each function.
The update state function is very simple. The only dependencies are the player object itself, the input controls (keyboard keypresses) and a boolean indicating if the player is dead. If the player presses left arrow key, we set the state to faceLeft, and vice versa.
Updating the position requires the state vector of the player, the input controls and delta time, the time elapsed since the previous frame. The use of dt in the model ensures that the physics calculations are referenced to real time and not to simulation time.
Drawing
Two coordinate systems are used - global and local. The global coordinate system is always aligned with the player in x. The local coordinate system is the fixed coordinates of the canvas tilemap aligned with the top-left corner. To transform between the two, an offset variable is used named offsetx. It contains the x displacement between the two coordinate systems.
y is the same in both coordinate systems and requires no transformation.
The function that performs the x transformation is called toLocal. We also need to determine if any local coordinates lie outside of the canvas boundary before drawing anything. The clip function does this.
Getting the player drawn to the screen is simply a case of transforming, clipping and sending the graphics to the textmap (retrovision.js). There is an intermediate stage where we create a graphics map and a display list. This is so that we can decouple the specific game objects from the generic drawing algorithm. In OOP it would be done using polymorphism.
Lastly we update the offsetx displacement based on player movement and apply easing so that any transition is smooth.
Tutorial 02 coming soon...
To-dos
- pre-load sounds
- radar
- better alien movement and missile dodging
- optimize clear screen by erasing only those tiles which were drawn on
- splash screen, player lives and hi-score
- there's a bug where falling humans disappear for no reason
- captured humans cannot be shot
- invaders sometimes lock onto the same human
- package retrovision.js